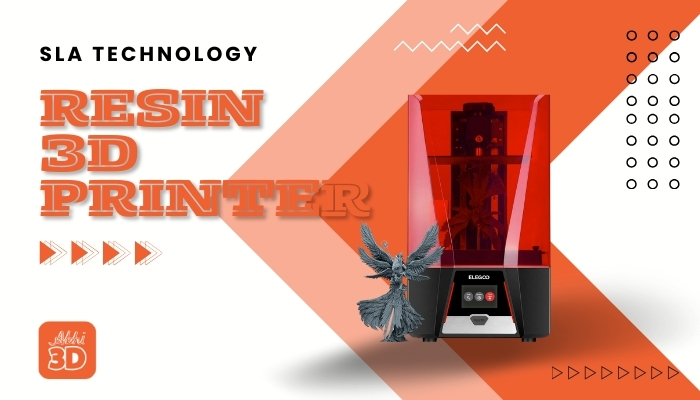
A resin 3D printer is a type of 3D printer that uses a photopolymer resin as its printing material. The printer uses a process called Stereolithography. In this process, a light source, such as a laser or a projector, is used to cure and harden the liquid resin layer by layer to create a solid object. As a result smooth quality 3D printed object is created.
This Stereolithography (SLA) technology has allowed creators, designers, and innovators to produce highly detailed and intricate designs with a smooth finish that’s hard to achieve with traditional FDM 3D printers. I will cover more about SLA later in this guide.
In this article, we’ll explore the ins and outs of resin 3D printers, their benefits, drawbacks, and even. more. We’ll also go deep into how they stack up against other FDM 3D printers and provide some tips on choosing the right one for your needs.

Table Of Contents
- What is Resin 3D Printer?
- How To Print With Resin 3D Printer: Step by Step
- Component of Resin 3D Printer:
- Advantages of Resin 3D Printer:
- Now, we are going to break down some disadvantages of Resin 3D Printers
- Resin 3D printer Vs FDM 3D printer:
- How To Choose Resin 3D Printer:
- What is SLA And DLP Technology In Resin 3D Printer?
What is Resin 3D Printer?
In the simplest terms, Resin 3D printers, also known as Stereolithography (SLA) printers, are a type of 3D printer that uses a liquid resin as the printing material. Unlike traditional Fused Deposition Modeling (FDM) printers that melt plastic filament to create objects layer by layer, resin 3D printers use UV light to harden the resin, creating highly detailed and smooth finished products.
The process begins with a vat of liquid photopolymer resin. The build platform descends into this vat, and a UV laser traces the first layer of the object onto the resin. The resin that is exposed to the UV light hardens, while the rest remains liquid. The build platform then moves up, and the process is repeated for the next layer. This continues until the entire object has been printed.
How To Print With Resin 3D Printer: Step by Step
Now that you’re familiar with resin 3D printer, so let’s see step by step how you can use Resin 3D printer to create amazing 3D prints for yourself. So, let’s get started:

1. Unboxing and Placement:
First of all, you unbox your shiny new resin 3D printer. It’s like Christmas morning, isn’t it? But remember, this isn’t a toy. It’s highly recommended you carefully handle it and place it on a well-ventilated, stable, and flat surface.

2. Assemble the Printer:
Next, it’s time to assemble your printer. Don’t worry, you don’t need a degree in mechanical engineering for this.
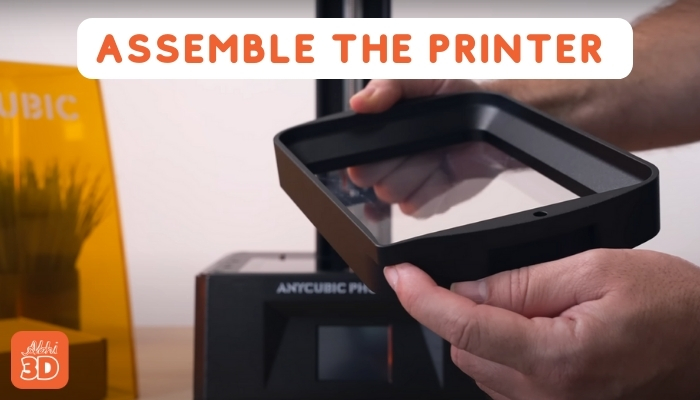
Most resin 3D printers come with a user-friendly manual. Follow the instructions in it. If you’re more of a visual learner, look for assembly videos online.
3. Install the Resin Vat and Build Plate:
Now, let’s install the resin vat and build plate. This resin vat is needed to add your liquid resin for printing.

On the other hand, the build plate is the place where magic happens. It is where your 3D model will be made. Make sure both are securely installed and leveled.
4. Level the Build Plate:
Speaking of leveling, this is a crucial step. An unlevelled build plate will lead to failed prints. Follow your printer’s manual for specific leveling instructions. Remember, patience and manual testing will be required.

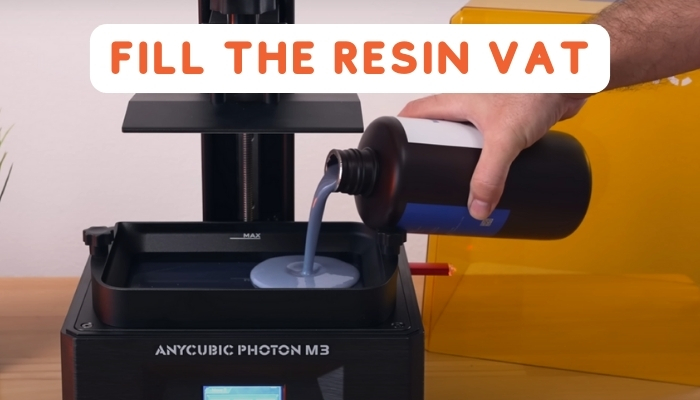
5. Fill the Resin Vat:
Next, fill the resin vat with your chosen 3D printing resin. Be careful not to overfill it. And remember, safety first! Always wear gloves when handling resin.
6. Install the Slicing Software & Prepare Your 3D Model:
Now, it’s time to install the slicing software like Cura or PrusaSlicer on your computer. This software will translate your 3D model into layers that your printer can understand. There are several options available, so choose one that best suits your needs.
Once the software is installed, you can prepare your 3D model. This involves scaling, orienting, and adding supports to your model.

8. Start Printing:
Finally, it’s time to start printing! Transfer your prepared 3D model to your printer, either via USB or Wi-Fi, and start the print. Now, sit back, relax, and watch as your 3D model comes to life.

Next, let’s talk about the components of resin 3D Printer.
Component of Resin 3D Printer:
Below are all the important parts of a Resin 3D printer:
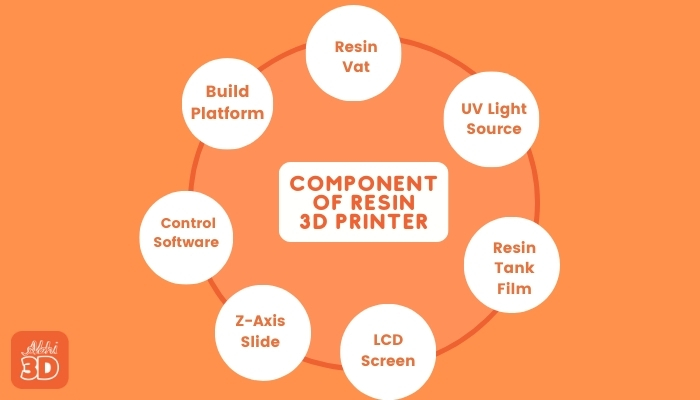
1. Resin Vat:
It works like a container where the liquid resin is stored during the printing process. It’s crucial to keep it clean and free from old resin to ensure the best possible prints.

2. Build Platform:
This is a place where your 3D model will come to life. It’s a flat surface that moves up and down in the vat of resin, allowing each layer of your model to be formed.

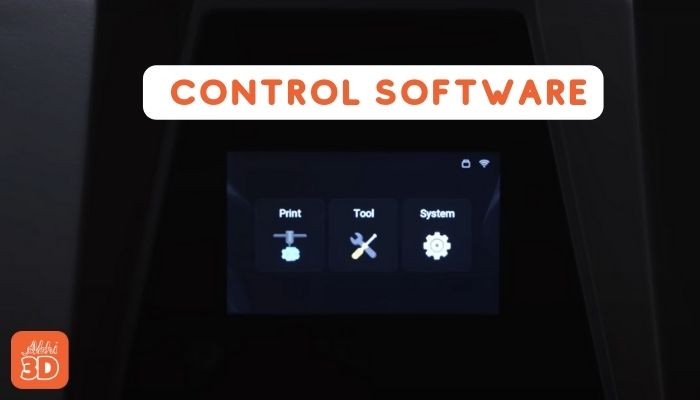
3. Control Software:
This is the brain of the resin printer. It controls the movement of the build platform, the timing of the UV light, and the display on the LCD screen. It also interprets the 3D model file and slices it into layers for printing.
4. Z-Axis Slide:
The Z-Axis slide component moves the build platform up and down in the resin vat. It must move smoothly and accurately to ensure each layer of your model is the correct thickness.

5. LCD Screen:
It is the interface between the UV light source and the resin. It displays the cross-section of the model being printed, allowing the UV light to cure the resin in the exact shape of that layer.

6. Resin Tank Film:
The resin tank film is a transparent film at the bottom of the resin vat. It allows the UV light to pass through and reach the resin, but also separates the cured resin from the rest of the liquid in the vat.

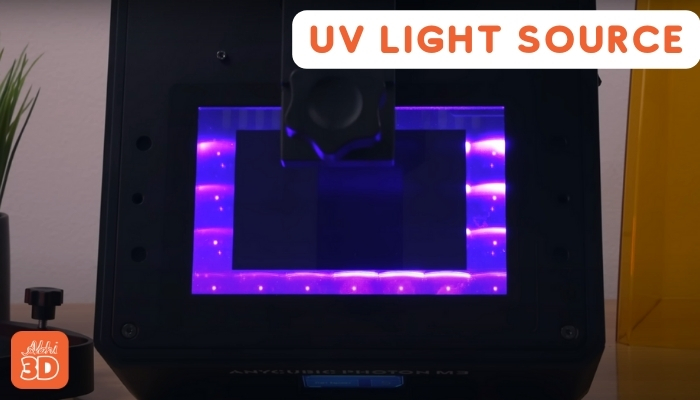
7. UV Light Source:
You can say, it’s the heart of the resin 3D printer printer. It’s a high-intensity UV light that cures the resin, hardening it layer by layer to form your 3D model. The precision of this light source is key to the level of detail your printer can achieve.
Let’s have a look at the advantages of a Resin 3D printer.
Advantages of Resin 3D Printer:
Now that we’ve covered the basics, let’s move on to the advantages.

1. Superior Detail and Precision:
One of the most compelling advantages of resin 3D printers is their ability to produce incredibly detailed and precise prints. Unlike their FDM counterparts, resin 3D printers use a light source to cure the resin, which allows for an incredibly high level of detail.
This is due to the nature of the printing process, which allows for layer thicknesses as small as 25 microns. This level of detail is simply unattainable with a traditional filament-based FDM 3D printer.

This means you can create incredibly smooth and detailed prints, free from the layer lines that often plague FDM prints. So, if you’re looking for a 3D printer that can deliver high-quality, detailed prints, a resin 3D printer could be your perfect match.
2. Smooth Surface Finish:
Resin 3D printers are known for producing prints with a smooth, high-quality surface finish. The smooth finish reduces the post-processing time, saving both time and money. This is a huge plus for industries such as jewelry, dental, and product design where aesthetics matter.
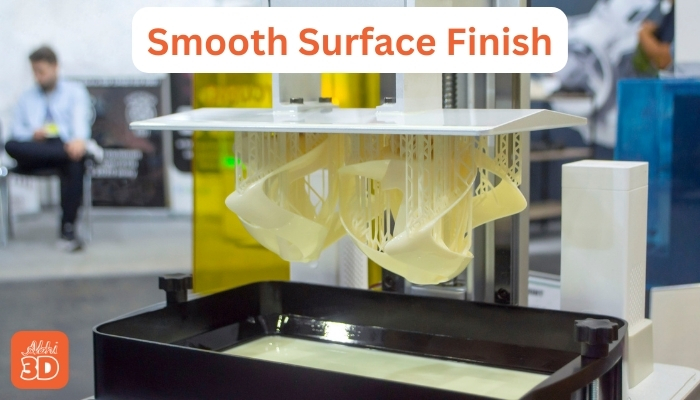
Moreover, it enhances the overall look and feel of the product, making it more appealing to the end-user. The resin 3D printer’s ability to create smooth, high-resolution prints is a testament to the evolving technology, pushing the boundaries of what’s possible in 3D printing.
3. Material Versatility:
Resin 3D printers can work with a wide range of materials. This includes standard resins, tough resins, flexible resins, and even cast-able resins used for making moods. This versatility opens up a world of possibilities for what can be created.

For instance, you can use tough resins for parts that need high strength and durability, flexible resins for components that must bend without breaking, or even cast-able resins for jewellery and dental applications.
4. Speed:
While the speed of a resin 3D printer can vary based on the model and settings, they are generally faster than their FDM 3D printer when it comes to printing complex and detailed designs.

Moreover, the precision and detail achievable with resin 3D printing are unparalleled, making it the go-to choice for industries where speed and detail are paramount. So, if you’re looking to save time without compromising on quality, resin 3D printing is the way to go.
5. Ease of Use:
Modern resin 3D printers come with user-friendly software and interfaces, making them relatively easy to use even for beginners.
Now, we are going to break down some disadvantages of Resin 3D Printers
- Resin 3D printers are generally more expensive than their FDM counterparts.
- Prints from a resin 3D printer require additional post-processing, including washing and curing. This adds extra time and effort to the printing process.
- Unused resin can’t be left in the printer for long periods, as it can degrade and affect future prints. This means you’ll need to use or dispose of the resin promptly, which can lead to waste.
- Resin 3D printers typically have a smaller build volume compared to FDM printers. This means they can’t print as large of objects in one piece.
- While resin 3D printers can produce highly detailed models, they are limited in the types of materials they can use. Unlike FDM printers, they can’t print with materials like wood or metal-filled filaments.
Resin 3D printer Vs FDM 3D printer:
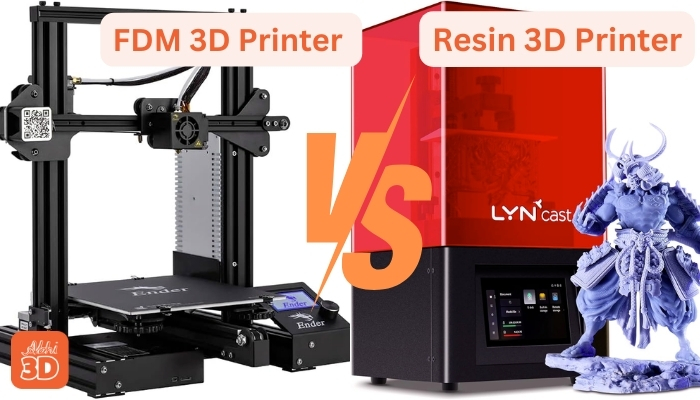
First, FDM 3D printers are the most common type of 3D printers. They work by melting a plastic filament and then extruding it layer by layer to build the object.
This method is great for creating larger, more robust objects, and it’s also more cost-effective. However, the downside is that the finish might not be as smooth or detailed as you’d like.
On the other hand, Resin 3D printers use a completely different method. They use a liquid resin that hardens when exposed to UV light. This process, known as Stereolithography (SLA), allows for a much higher level of detail and a smoother finish. It’s perfect for intricate designs like jewelry or dental models. But, it’s worth noting that the materials can be more expensive, and the process can be a bit messier.
How To Choose Resin 3D Printer:
There’s a wide range of Resin 3D Printers available in the market, each with its unique features and specifications. Spend time researching different models, brands, and their capabilities.

Below I will highlight some key points that you should look for when deciding which resin 3D printer you will order.
- One of the most important factors to consider is the print quality. Look for a printer that can produce high-resolution prints. Remember, the higher the resolution, the better the print quality.
- If you’re planning to use your resin printer for business purposes, print speed is a critical factor. A printer that can produce high-quality prints quickly will save you time and increase your productivity.
- The build volume of a printer determines the maximum size of the object it can print. If you’re planning to print large objects, you’ll need a printer with a large build volume.
- Ensure the printer is compatible with the software you plan to use. Some printers come with their own software, while others are compatible with third-party software.
What is SLA And DLP Technology In Resin 3D Printer?
Before I end this guide let’s focus on SLA and DLP process used in Resin printers.
SLA, or Stereolithography, is a type of 3D printing technology that uses a laser to cure liquid resin into hardened plastic in a process called photo poly marination. It’s known for its high resolution and accuracy, making it a favorite for intricate designs and prototypes.
Alternatively, DLP or Digital Light Processing, also uses light to cure resin, but it does so all at once for each layer, rather than point by point like SLA. This makes DLP faster, but potentially less precise.
Both have their strengths and weaknesses, and the choice between them often comes down to what you value more: precision or speed. As demand is more for precision thus making SLA more popular choice in Resin printers.
Do you own and use a Resin 3D printer? If yes, share your experience in the comments below.