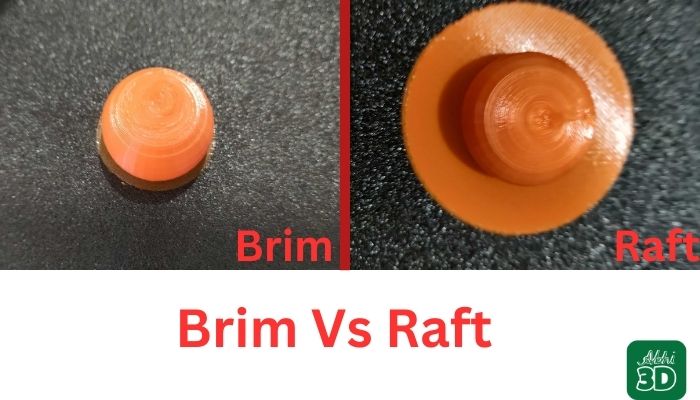
A brim in build plate adhesion type adds a thin extra layer to improve the bond between the printed object and the printer’s build plate. It’s temporary and can be removed easily after printing. It enhances stability, prevents warping, and uses less filament than raft.

This brim which you can see in the above picture helps provide better adhesion to the build plate, preventing the corners of the print from peeling or lifting off the build plate during the 3D printing process. It’s particularly useful when printing objects with a small footprint or with sharp corners.
Table Of Contents
Brim Print Setting in Cura in Build Plate Adhesion:
You can customize the Brim settings in your 3D slicer like you can control how much size you want for Brim width around your object. Let’s check out how you can find this setting in Cura.
1. Open Cura software and load your 3D model.

2. Click on the “Prepare” button on the top right corner to enter the slicing settings.
3. On the right side of the screen, you’ll see a panel with several tabs. Click on the “Build Plate Adhesion” tab.

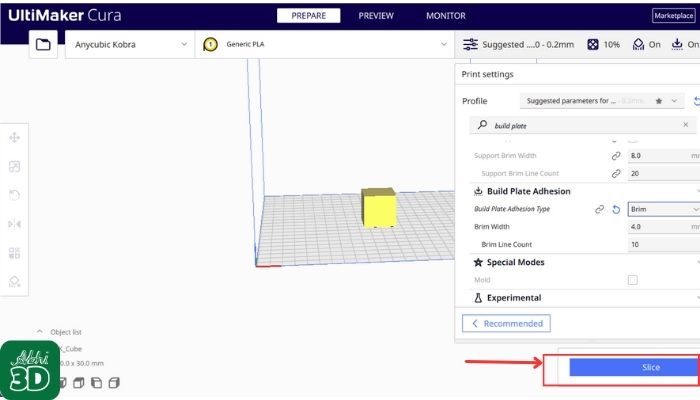
4. Under the “Build Plate Adhesion Type” dropdown menu, select “Brim”.

5. Once you’ve selected “Brim”, you’ll see additional settings. Here, you can adjust the “Brim Width” and “Brim Line Count”. The Brim Width is the distance from the edge of the object to the outer edge of the brim, measured in millimeters. The Brim Line Count is the number of lines the brim consists of. The default settings are usually sufficient for most prints, but you can adjust these according to your specific needs.

6. After you’ve made your changes, click on the “Slice” button at the bottom right corner. Cura will then generate the G-code for your 3D printer, including the brim settings you’ve specified.
7. Save the G-code to your 3D printer or to a file, and you’re ready to print with your new brim settings.
Custom Brim Setting For 3D Printing:
The brim setting in Cura is used to improve the adhesion of 3D prints with a small footprint or narrow base. The brim width is typically set to 3-5 mm, and the setting can be adjusted in Cura to suit specific print requirements. Let’s look at everything you can customize related to Brim.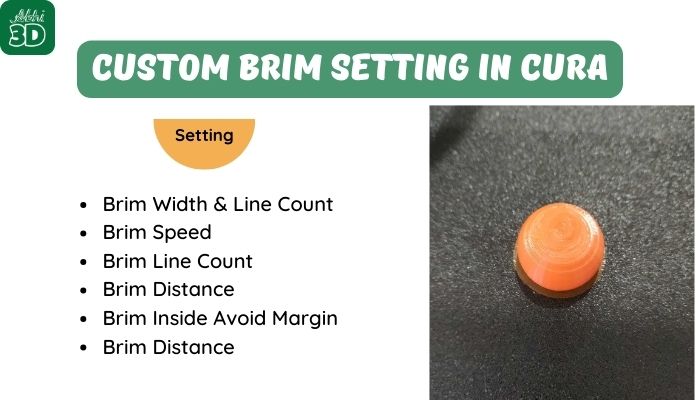
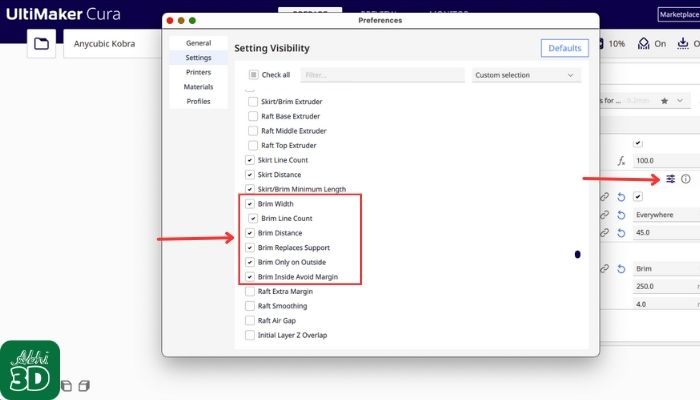
1. Activate Brim Related Settings:
In Cura, click on the “Settings” tab and select “Configure setting visibility. Search for “brim” in the search bar and check all the brim settings.
2. Brim Width & Line Count:
Brim width and line count are settings in the brim setting controls how wide the brim is in millimeters, while the line count determines the number of lines that make up the brim. The larger the brim width and line count, the more adhesion the brim provides to the build plate. The brim width is typically set to 3-5 mm, while the line count can vary depending on the specific print.

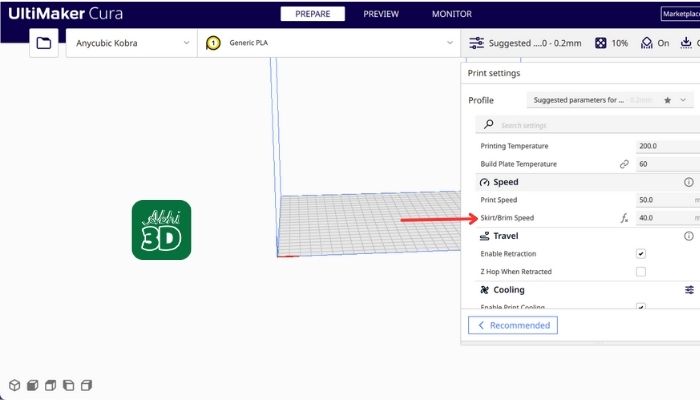
3. Brim Speed:
This setting controls the speed at which the brim is printed. Adjusting this setting helps you optimize the brim’s effectiveness in improving adhesion and preventing warping.
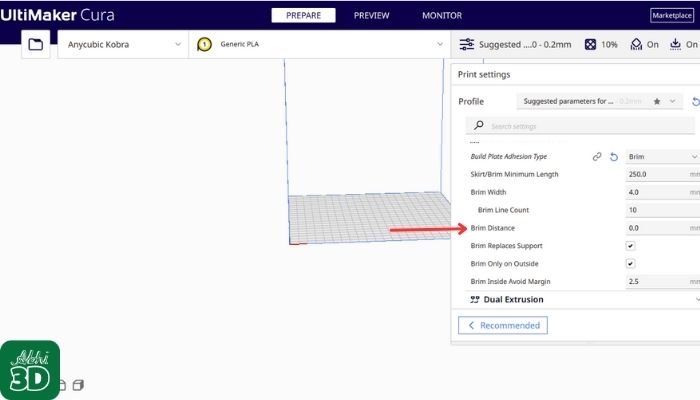
4. Brim Distance:
The Brim distance in Build Plate Adhesion refers to the gap between the brim and the print. It’s measured in millimeters and can be adjusted to suit the specific requirements of your print. A larger brim distance can make it easier to remove the brim after printing but may reduce the brim’s effectiveness in preventing warping. Ideally, keep this value to 0mm.
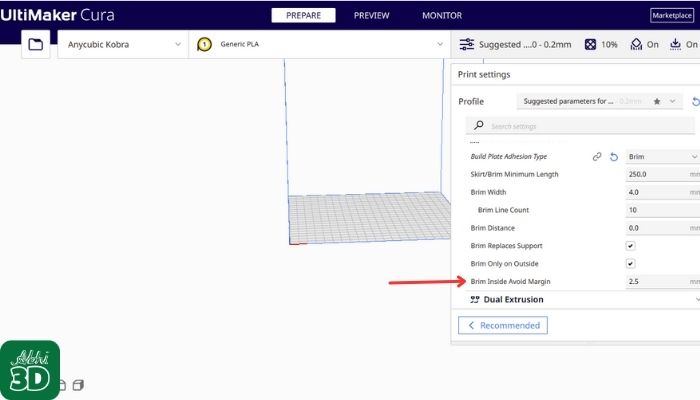
5. Brim Inside Avoid Margin:
In Cura, the Brim Inside Avoid Margin in Build Plate Adhesion refers to the distance maintained between the brim and the interior of the print. This setting helps to prevent the brim from interfering with the print’s details.
Benefits of Using Brim Build Plate Adhesion:
The brim in build plate adhesion offers several advantages, including improved adhesion to the build plate, reduced risk of warping, and better first-layer adhesion, especially for warp-prone materials like ABS and PETG.


FAQ #2: What is Brim Thickness in Build Plate Adhesion?
Brim Thickness denotes the height of the brim that is printed encircling the object. Typically, it’s just a single layer in thickness, as its main function is to aid in sticking to the build plate, rather than offering structural reinforcement. The thickness of this brim can be tweaked in the settings of the slicing software. It is usually kept around 3-5mm.